Building a Battery Pack to Make the Edirol UA-5 Portable
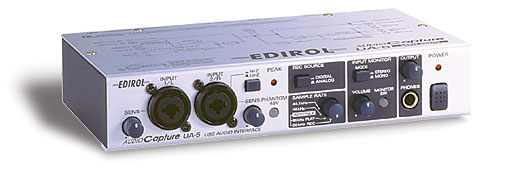
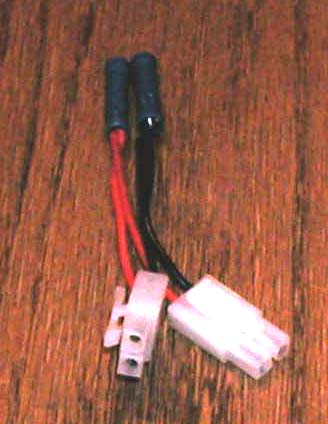
Turn this:
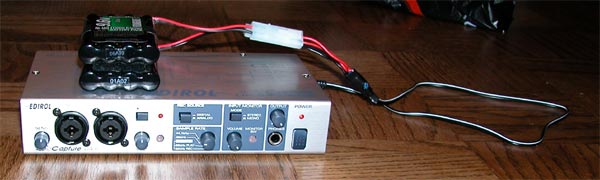
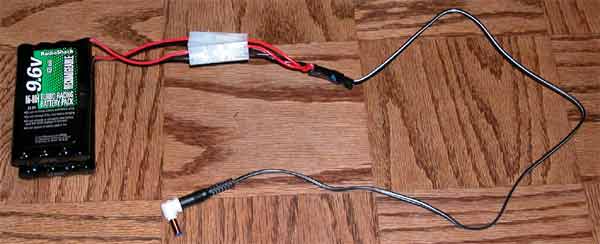
Into this!
The Edirol UA-5 is a fabulous unit for live taping purposes. Since it runs on DC power, it is relatively easy to build a battery pack that will run it for up to and well over ten hours. For my purposes, I built a pack that will run it for approximately 5+ hours with the phantom power running. There are other batteries available over the internet and at many retail outlets that will easily allow someone to tape an entire festival without worries. I dislike SLA (Sealed Lead Acid) batteries because they are heavy and not environmentally sound. To make this unit truly portable, I used RC batteries for power.
The UA-5 accepts 9 volt DC power and draws approximately 500mAh with the phantom power on. You'll need the following parts from Radio Shack or similar items that can be substituted from any electrical supply store:
9.6V
1000mAh R/C Car Battery Pack and Charger (Part # 23-342)
9.6V
1420mAh Ni-Mh Battery Pack (Part # 23-331)
RC
9.6V Battery Pack Connector Repair Kit (Two Required, Part # 23-445)
Adaptaplug
M (Part # 273-1716)
Female-to-Female
Adaptaplug Socket Cable (Part # 273-1740)
Crimp-On
Butt Connectors (Pack of 10, You'll need the blue ones, Part #
64-3037)
Soldering Gun and Solder (Optional)
Cable Shrink
(Optional)
Cable Strip and Crimp Tool
All of these parts should
cost about $40 from your local Radio Shack. Hurry now, I found the
charger/battery package on sale for $8!
Basically what we're making is a special cable that will allow you to attach two batteries to the unit that will easily allow for disconnect to charge them. It has been recommended to me that you only keep both batteries connected when you are switching them. So, during a show, only connect one battery and then briefly connect a fresh one to the other port, then disconnect the drained battery without losing power to the UA-5. Now that you've got everything you need, let's get started!
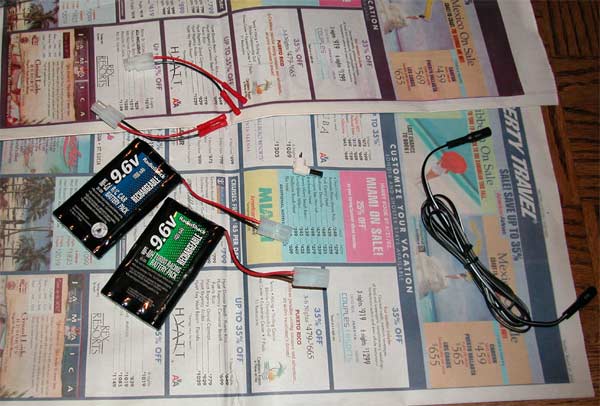
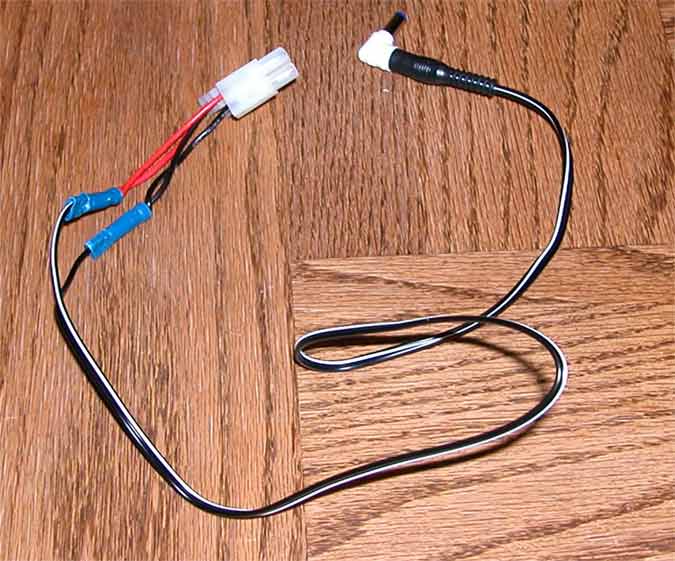
Get everything together on a solid surface that you're not afraid to damage. A cutting board or something might help when you need to solder. I put some newspaper over a table, that will work fine. Here's what your parts will look like:
Step 1
Put the batteries aside, you won't need them until the last step. Open up both of the Connector Repair Kits. You'll need only the female ends, you can put away the male connectors. At the end of each wire, there is a crimp connector. Cut it off. Then, strip the insulation off so you have about a quarter inch of the bare wire showing. Take the black wires and twist them together. Do the same with each of the red wires.
Now here's the simple soldering you'll have to do. This is optional, but will ensure a cleaner electrical connection in the end. It is highly recommended. Called tinning, you will take some solder and let it run down the twisted wires to make the connection stronger than a twist. This should thicken up each of them. Make sure there are no loose globs of solder, just a thickening of the wire.
What you've just done is to wire both batteries in parallel. This ensures that the resistance and voltage will be the same while running through the entire battery and into the UA-5. It will combine the amperage so that you have the power of both batteries added together. It will draw half from each battery so that you can replace one while the unit is running without disrupting power flow. Here's what the cables should look like:

Step 2
Take two of the crimp on connectors from the package of ten. The blue ones are for thicker gauge wire. We'll need these because the battery wire is thicker than the red connector will allow. Put the red wires into one and the black into another and crimp it tightly. Make sure that the crimp is tight, you don't want the wires to fall out.
Step 3
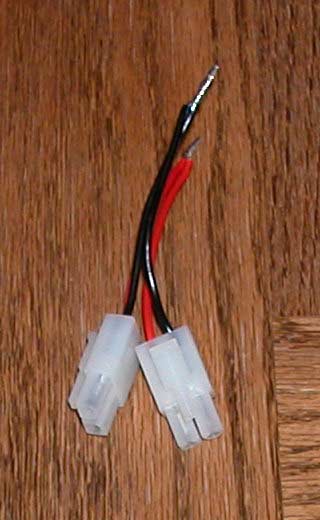
Take the female adaptaplug cable and cut it approximately in half. You can make it shorter if you don't need a long cable but don't if you feel uncomfortable or that you might mess up once or twice. Cut the center of the cable so you can separate the red and black wires. Here, the red wire is the one with the white stripe on it. Once they're split about three inches up the cable, strip half an inch of insulation off each. Here's what that will look like
Again, this is optional but almost necessary in this step. Tin the end of each of these wires to a thicker amount than you did in the first step. The idea is to thicken up these thin wires to be approximately that of the RC battery wires so that they fit well into the crimp connector.
Now, insert the red end (the wire with the white stripe) into the crimp connector that has the red wires connected to it. Do the same with the black wire. Crimp the connector extremely well and make sure it is secure.
On the Adaptaplug end, insert the plug in. One side will say "TIP". The jack side of the plug will face the opposite of this side. If you put it the wrong way, the pack will not work.
To make the whole connection more secure, take the shrink wrapping for the cable and slide it on. Heat it up to cover the crimp connectors and to protect them while in use. The final step will look like this:
Congratulations, you're done! Simply connect the batteries to make sure the cable works. To fully test it, only connect one battery at a time to each connection to make sure that the unit will run and draw power from each connector. I velcroed both of the batteries together and use a cell phone case to make them secure in one portable package. To charge the batteries, simply disconnect them at each end and charge them.
If you don't get power when it's all done, first make sure the plug is in the correct way. After that, check your connections. You may need to cut cables and do the process again. Fortunately, the parts that go into it are relatively cheap and any error can be corrected for a few dollars.
If you're looking for more powerful batteries, I found Tower Hobbies. They seem to have a very extensive selection, the lowest prices on comparison and have been helpful in answering my questions.
I can be reached at http://www.jordanshapiro.net/jordanshapiro@comcast.net if you need assistance or any tips for me to update this site with! I'll be posting my 2496 field experiences here for all if you are interested.
Core Sound just released their "portable" M Audio duo unit. I don't recommend this at all. It doesn't have high quality pre-amps like the UA-5 does, nor does it have the host of inputs and outputs. I also don't like the lack of selectable bit depth and khz. Aditionally, the unit ends up being $200 more expensive with a maximum field powering of four hours. The Edirol is a much better unit with far more powering options!
Good luck and happy taping!
Last updated on June 30, 2002.